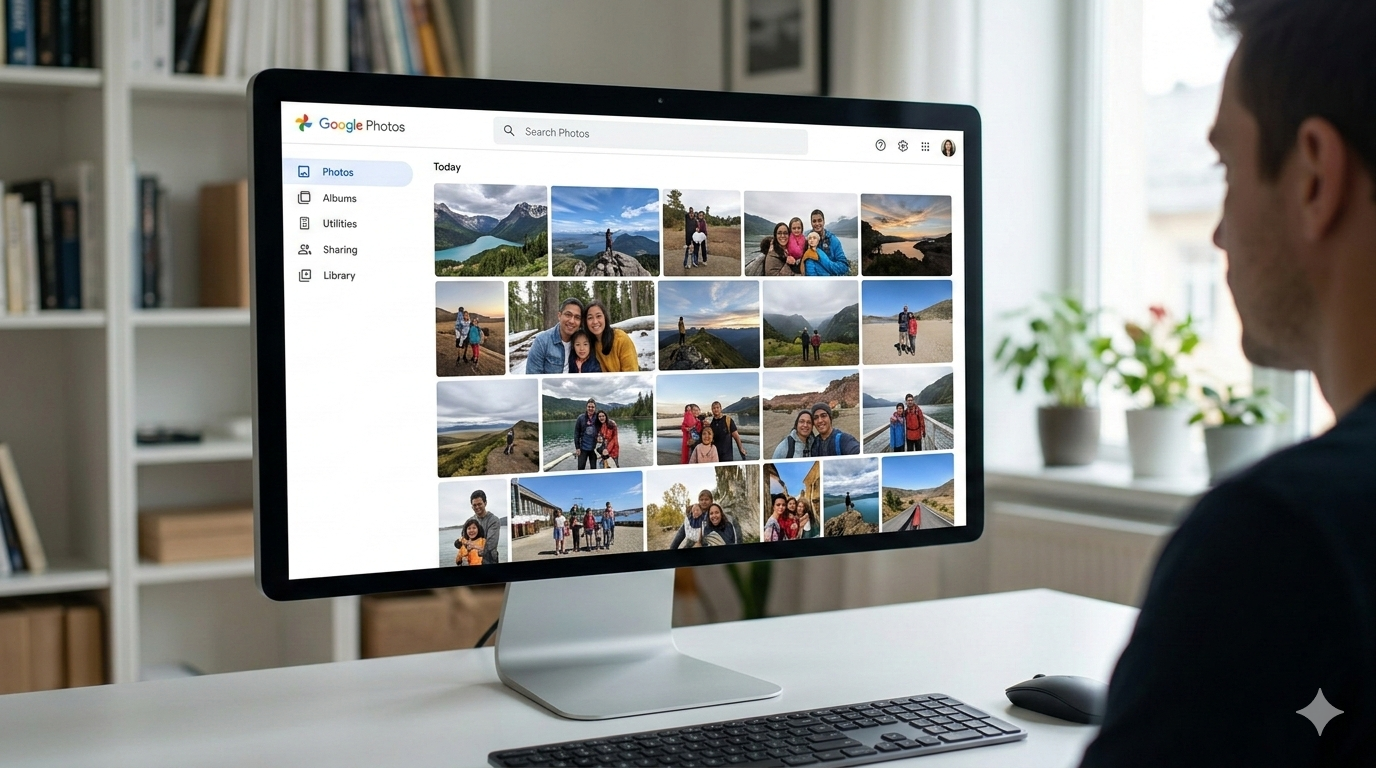
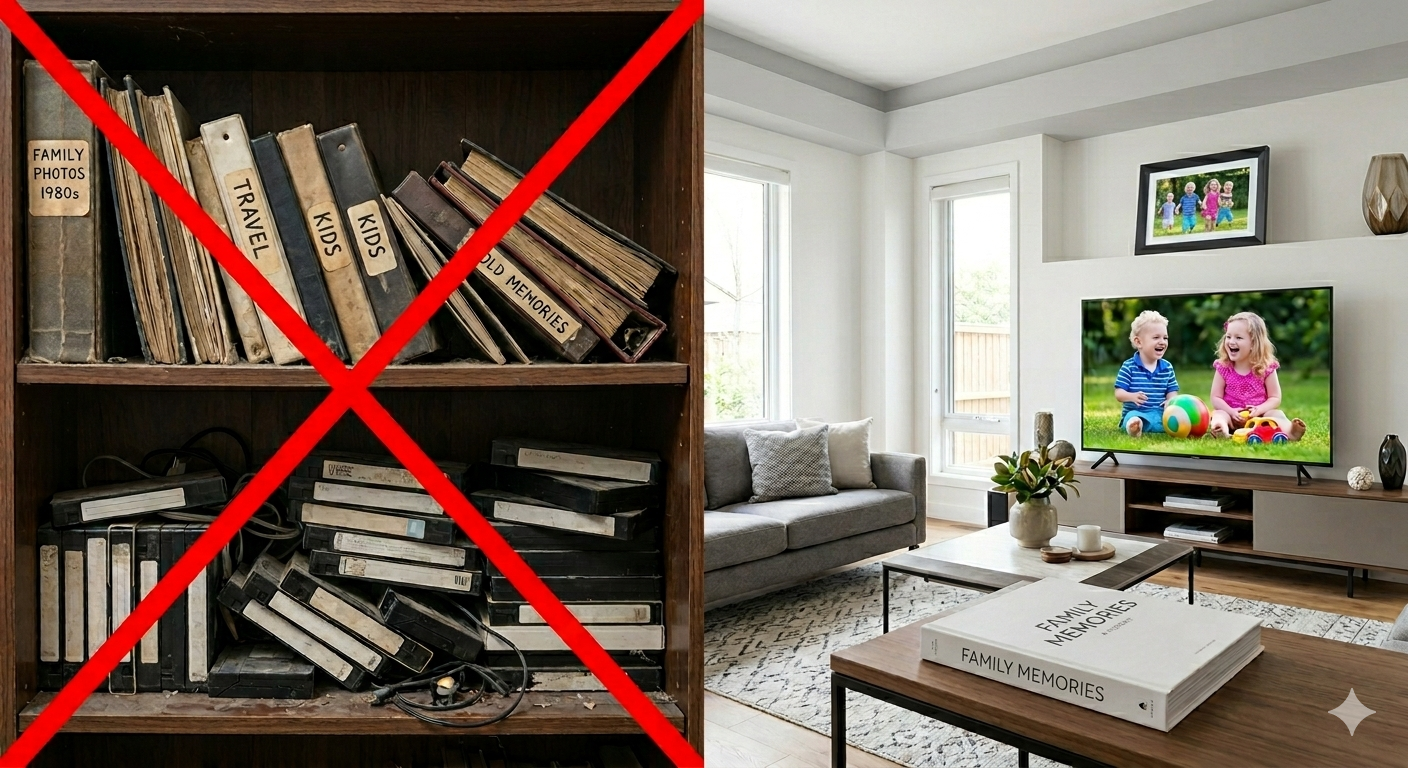
📸 How to Use Google Photos: A Beginner's Guide to Storing, Organizing, and Sharing Your Memories
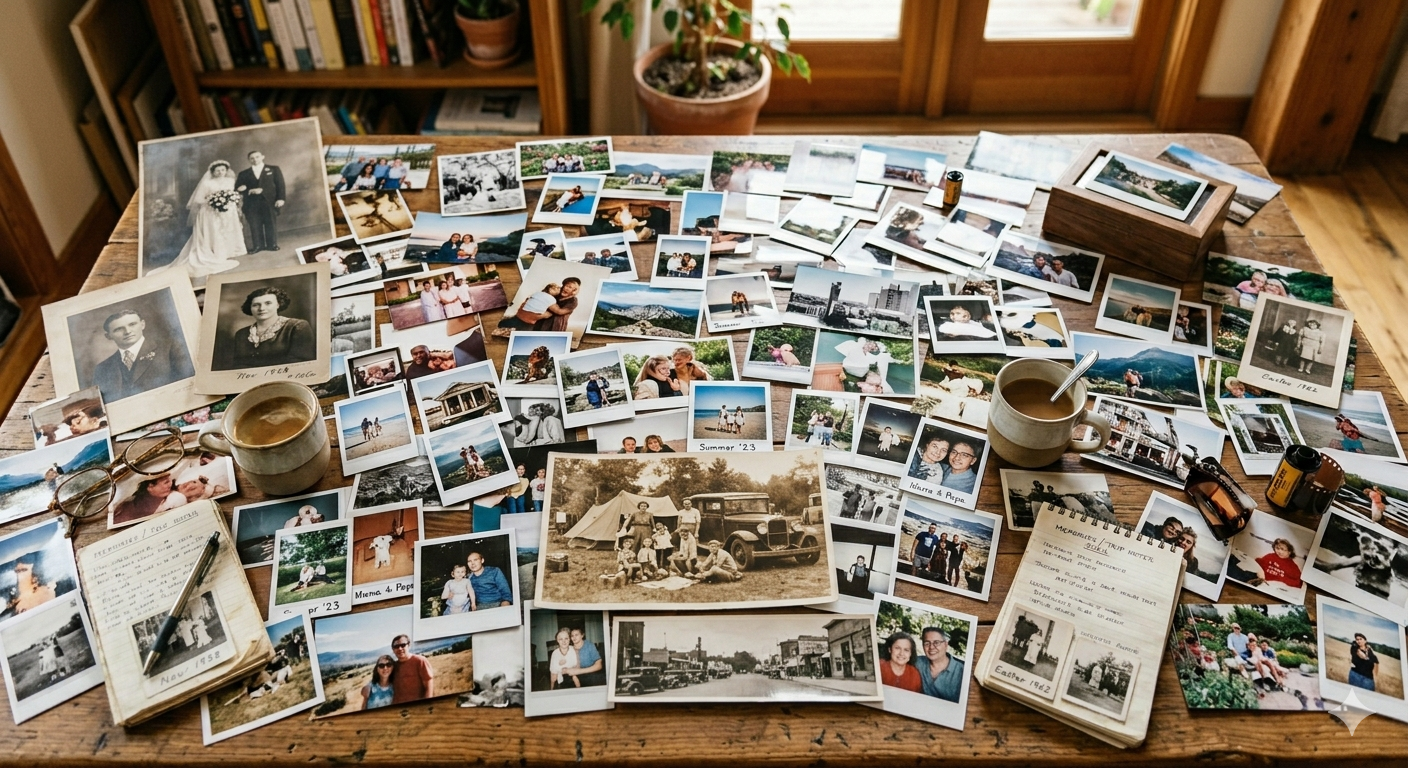
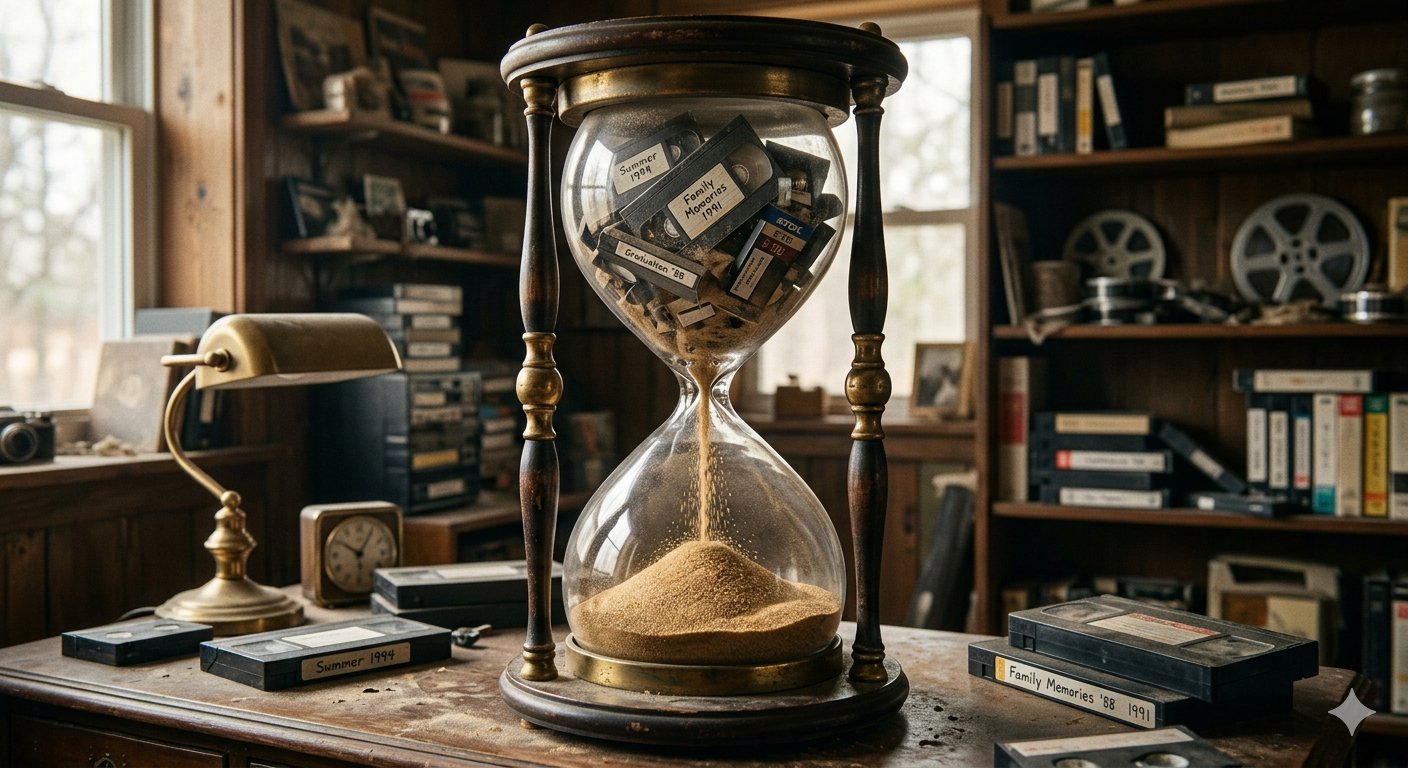
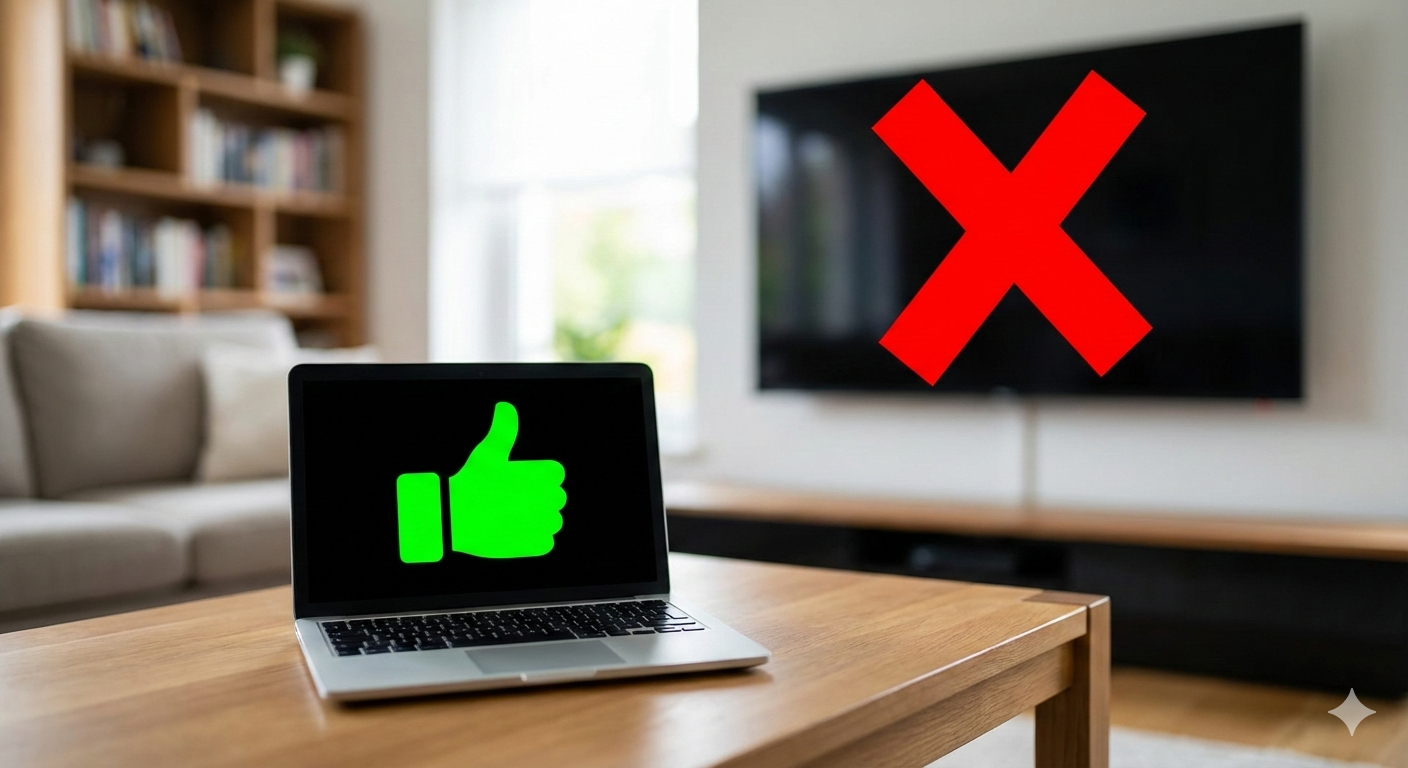
In an age where we’re constantly snapping pictures—from spontaneous selfies to those once-in-a-lifetime vacation moments—it’s easy to let your photo library get a little chaotic. Enter Google Photos, your free(ish) cloud-based photo assistant that not only stores your pictures but helps organize, find, and even enhance them. Whether you’re brand new to Google Photos or just looking to up your photo game, here’s how to use it like a pro.
✅ Step 1: Set Up Google Photos
First things first—download the Google Photos app:
- 📱 On iOS or Android: Search for "Google Photos" in the App Store or Google Play.
- 💻 On Desktop: Visit photos.google.com in your browser.
Once installed, sign in with your Google account (or create one if you don’t have one).
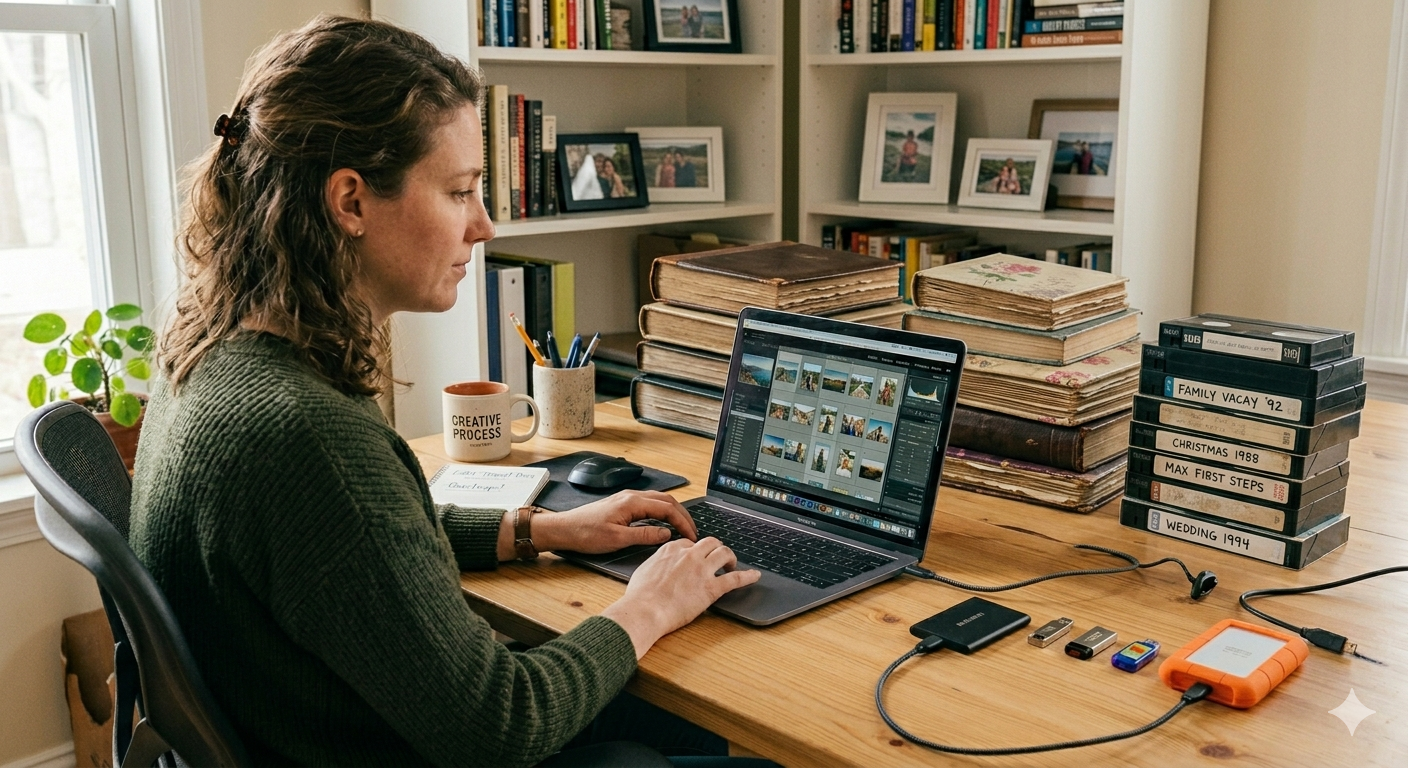
Turn on Backup & Sync
This is the magic feature that automatically saves your photos and videos to the cloud:
- Open the app → Tap your profile picture (top right) → Go to Photos settings → Tap Backup & sync → Toggle it on.
- Choose your backup quality: Storage saver (compressed) or Original quality (uses more space).
Now, every photo you take on your phone is safely backed up—no more panic if your phone takes a dive into a pool.
🗂️ Step 2: Organize Like a Pro
Albums
You can create albums manually to group similar photos:
- Tap and hold on a photo → Select others → Tap the "+" icon → Create album.
Search
One of Google Photos’ superpowers is its AI-powered search. You can search by:
- People (it recognizes faces 👀)
- Places (“Paris”)
- Objects (“dog,” “birthday cake”)
Favorites
Tap the ⭐️ icon on any photo to mark it as a favorite. You can then view all your favorites in one place.
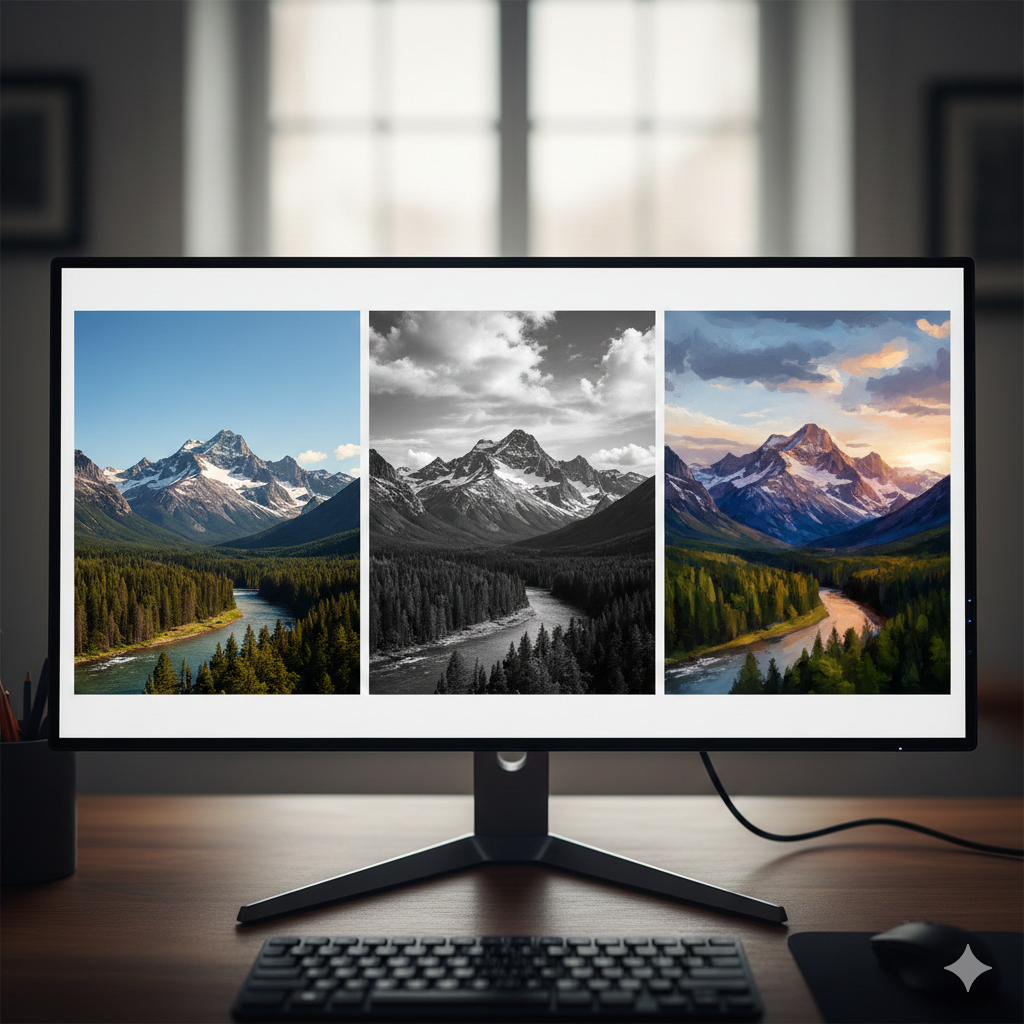
🎨 Step 3: Edit and Enhance
Google Photos has solid built-in editing tools:
- Tap a photo → Edit (pencil icon) → Adjust brightness, contrast, filters, crop, and more.
- You can also auto-enhance with one tap for quick fixes.
There are even fun features like:
- Collages
- Animations (like GIFs)
- Movies (Google Photos will sometimes auto-generate these for you—pretty cool.)
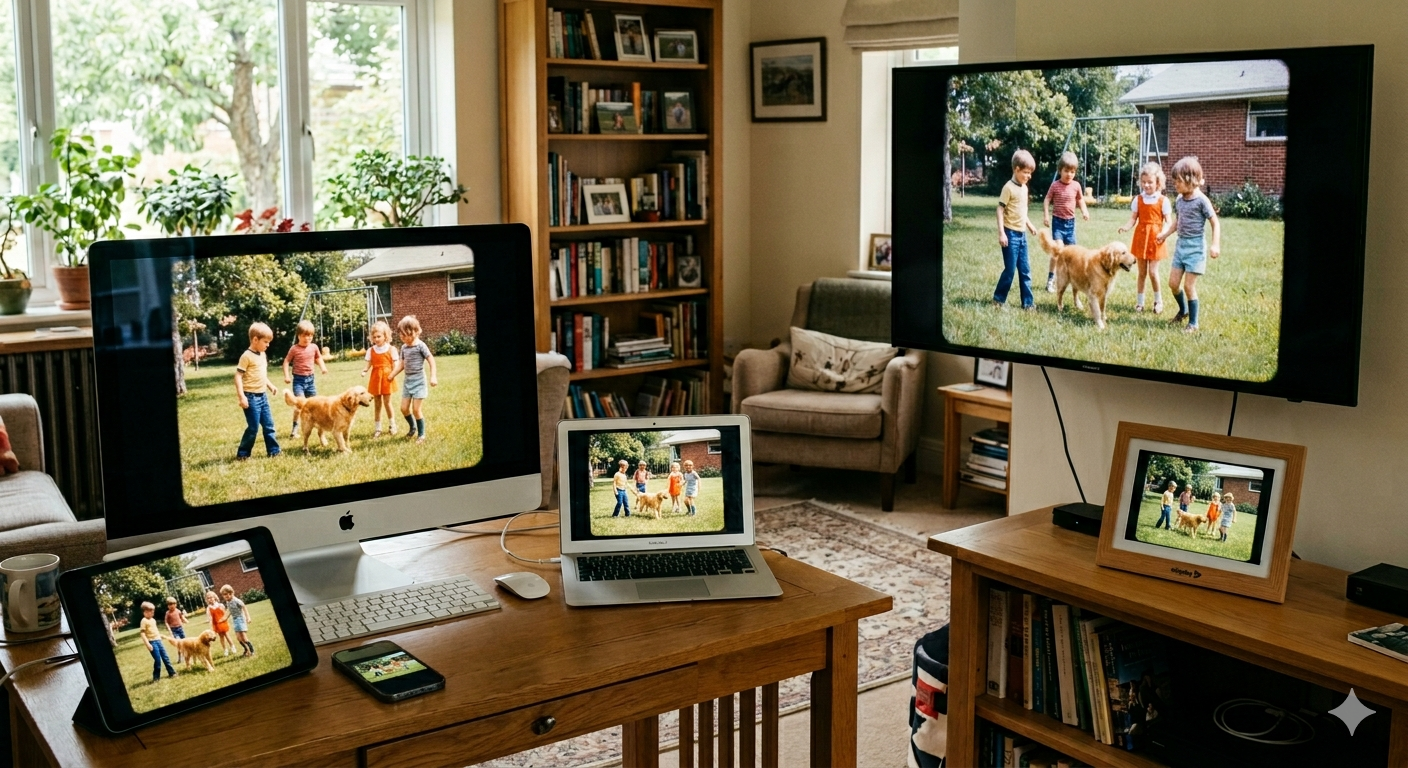
🤝 Step 4: Share Your Memories
Sharing is simple:
- Tap and hold a photo → Select what you want to share → Tap the Share icon → Choose how (email, social media, link).
You can also create shared albums with family or friends, where everyone can add their own photos. Great for vacations or group events.
📦 Bonus: Free Up Space
Once your photos are backed up, you can delete them from your device to save storage:
- Tap your profile → Free up space → Google Photos will tell you how many items are safely backed up and ready to delete.
📅 Pro Tip: Use the “Memories” Feature
You’ll see nostalgic highlights from “This day last year” and other curated flashbacks at the top of the app. It’s a great way to revisit moments you forgot about.
Final Thoughts
Google Photos is more than just a digital photo album—it’s a smart, intuitive, and surprisingly emotional way to interact with your memories. Once you set it up and get the hang of its features, you’ll wonder how you ever managed your photos without it.
So go ahead—snap that sunset, capture that laugh, and let Google Photos take care of the rest. 🌅📷