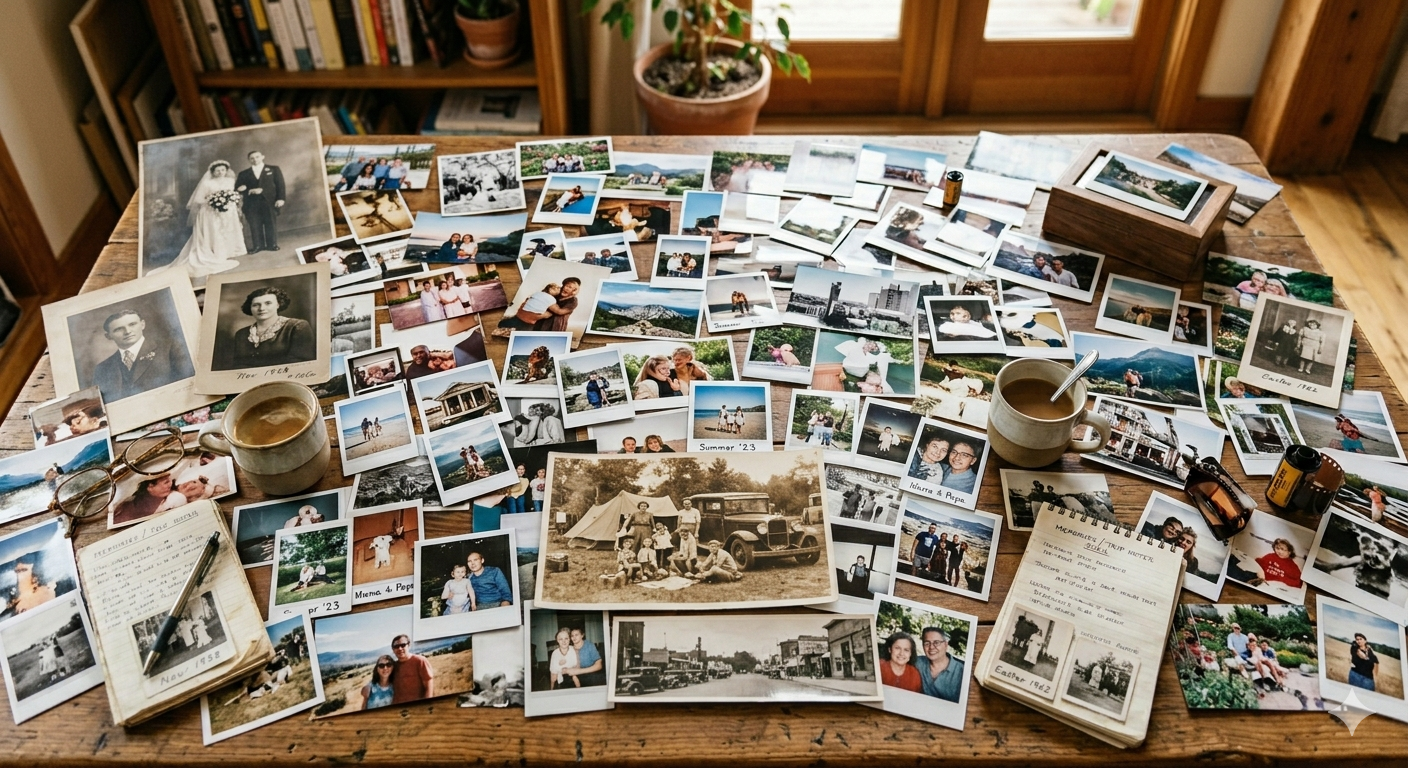
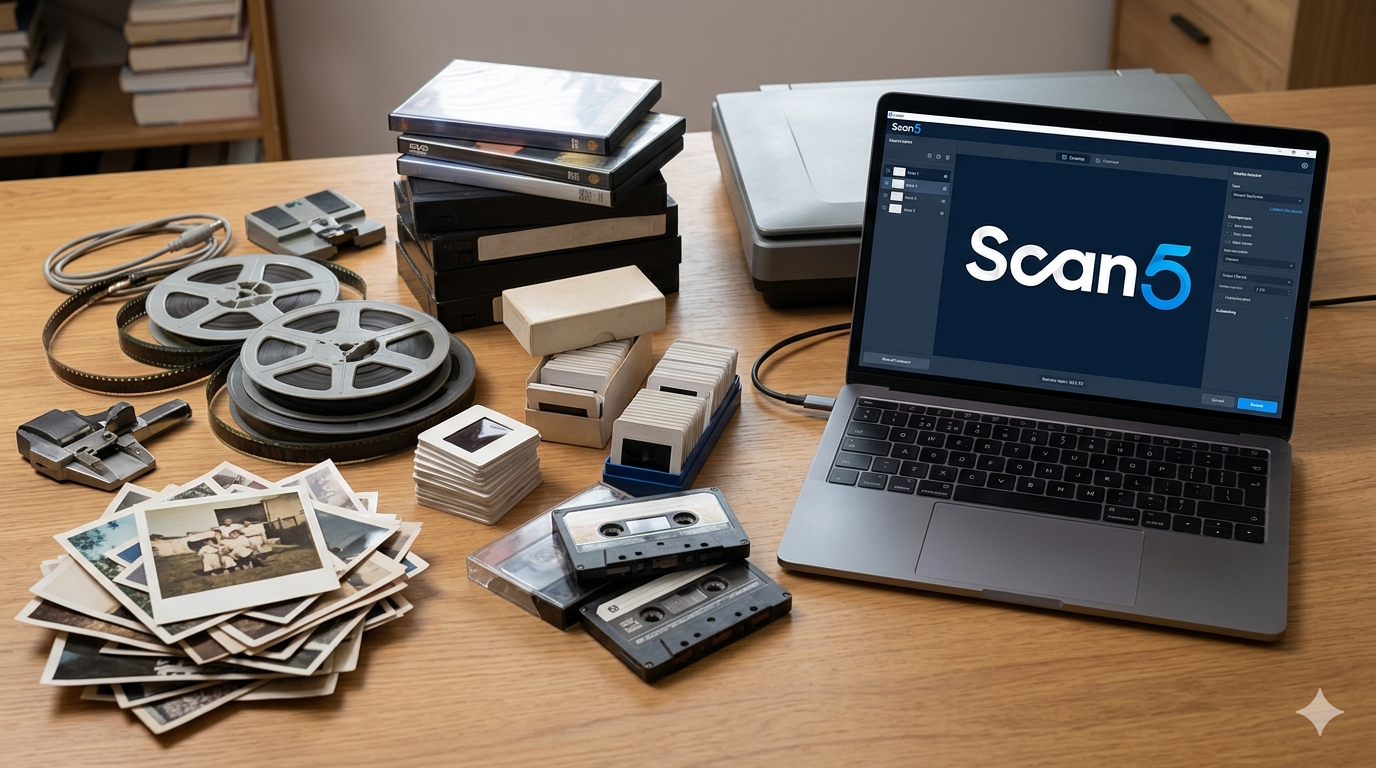
Before taking your photo prints to Scan5 to be digitized, organizing them properly will help make the process smoother and ensure they are scanned efficiently. Here are some tips on how to arrange them:
1. Sort by Size
Group your photos by size (e.g., 4x6, 5x7, etc.). This will help the scanning process as our equipment will be adjusted to scan different sizes properly.
2. Sort by Condition
If some photos are in better condition than others, you might want to separate them to ensure delicate or damaged ones are handled carefully right away. You can also group photos that need manual flatbed scanning due to thier condition.
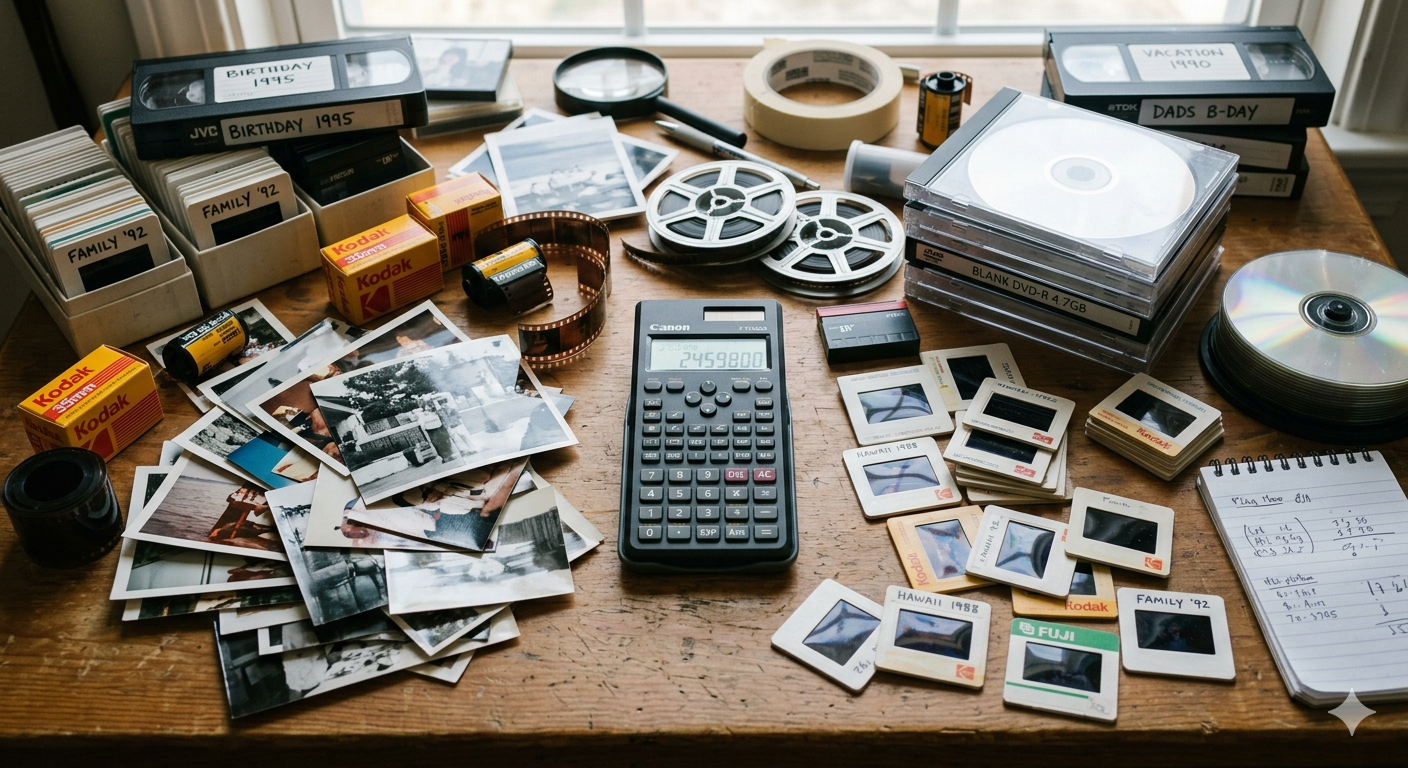
3. Organize Chronologically or by Theme
If you'd like to maintain the story or theme of the photos, organize them by year, event, or category (e.g., family holidays, weddings, vacations). This will help when you eventually organize your digital files, especially if you have many photos.
4. Remove Dust and Dirt
Use a soft, lint-free cloth to gently wipe down the photos. Removing dust or dirt will prevent them from being scanned onto the final image and save you on potential labor costs associated with Scan5 cleaning excessively dusty or sticky photos for you. If there are any sticky notes or labels, carefully remove them.
5. Avoid Overlapping
When you're stacking photos for scanning, make sure they don’t overlap or stick together, as this can lead to poor scanning results. Leave some space between the edges, so our scanner can capture the entire image.
To learn more about our local photos scanning service, visit www.Scan5.com/photo